Getting started
Five short chapters to your first published memory.
1. Welcome
You've chosen something worth keeping. This guide helps you give it a story.
Memuseum turns each memento into a small, personal exhibit: one photograph, a few paragraphs of writing, an audio narration, and a permanent web address you can print on a placard and put next to it. Anyone viewing the memento — you, your family, someone who finds it years from now — can scan the QR code and read what it meant.
This guide takes about ten minutes to read and gives you what you need to publish your first memory thoughtfully. Each chapter stands on its own; come back to any of them later.
2. Photographing your memento
One good photograph beats five mediocre ones. The cover photo carries the memory visually — both on the published page and in your collection thumbnail — so it's worth two minutes of care.
What works:
- Window light, not overhead light. A bright window (no direct sun on the memento) is the best free lighting you have. Overhead room light tends to flatten texture.
- A clean, simple background. A wood table, a painted wall, a folded fabric. Anything that doesn't compete with the memento itself.
- Get close. The memento should fill most of the frame. Move your feet — don't lean on the digital zoom.
- Steady hands or a stack of books. A slightly blurry photo can't be saved later.
Common pitfalls:
- Phone-shadow falling across the memento when shooting top-down. Tilt the angle slightly to avoid it.
- Glare on glass or polished surfaces. Move the light source, not the memento.
- Cluttered backgrounds (laundry, cables, a half-eaten lunch). The eye goes there before it goes to your memento.
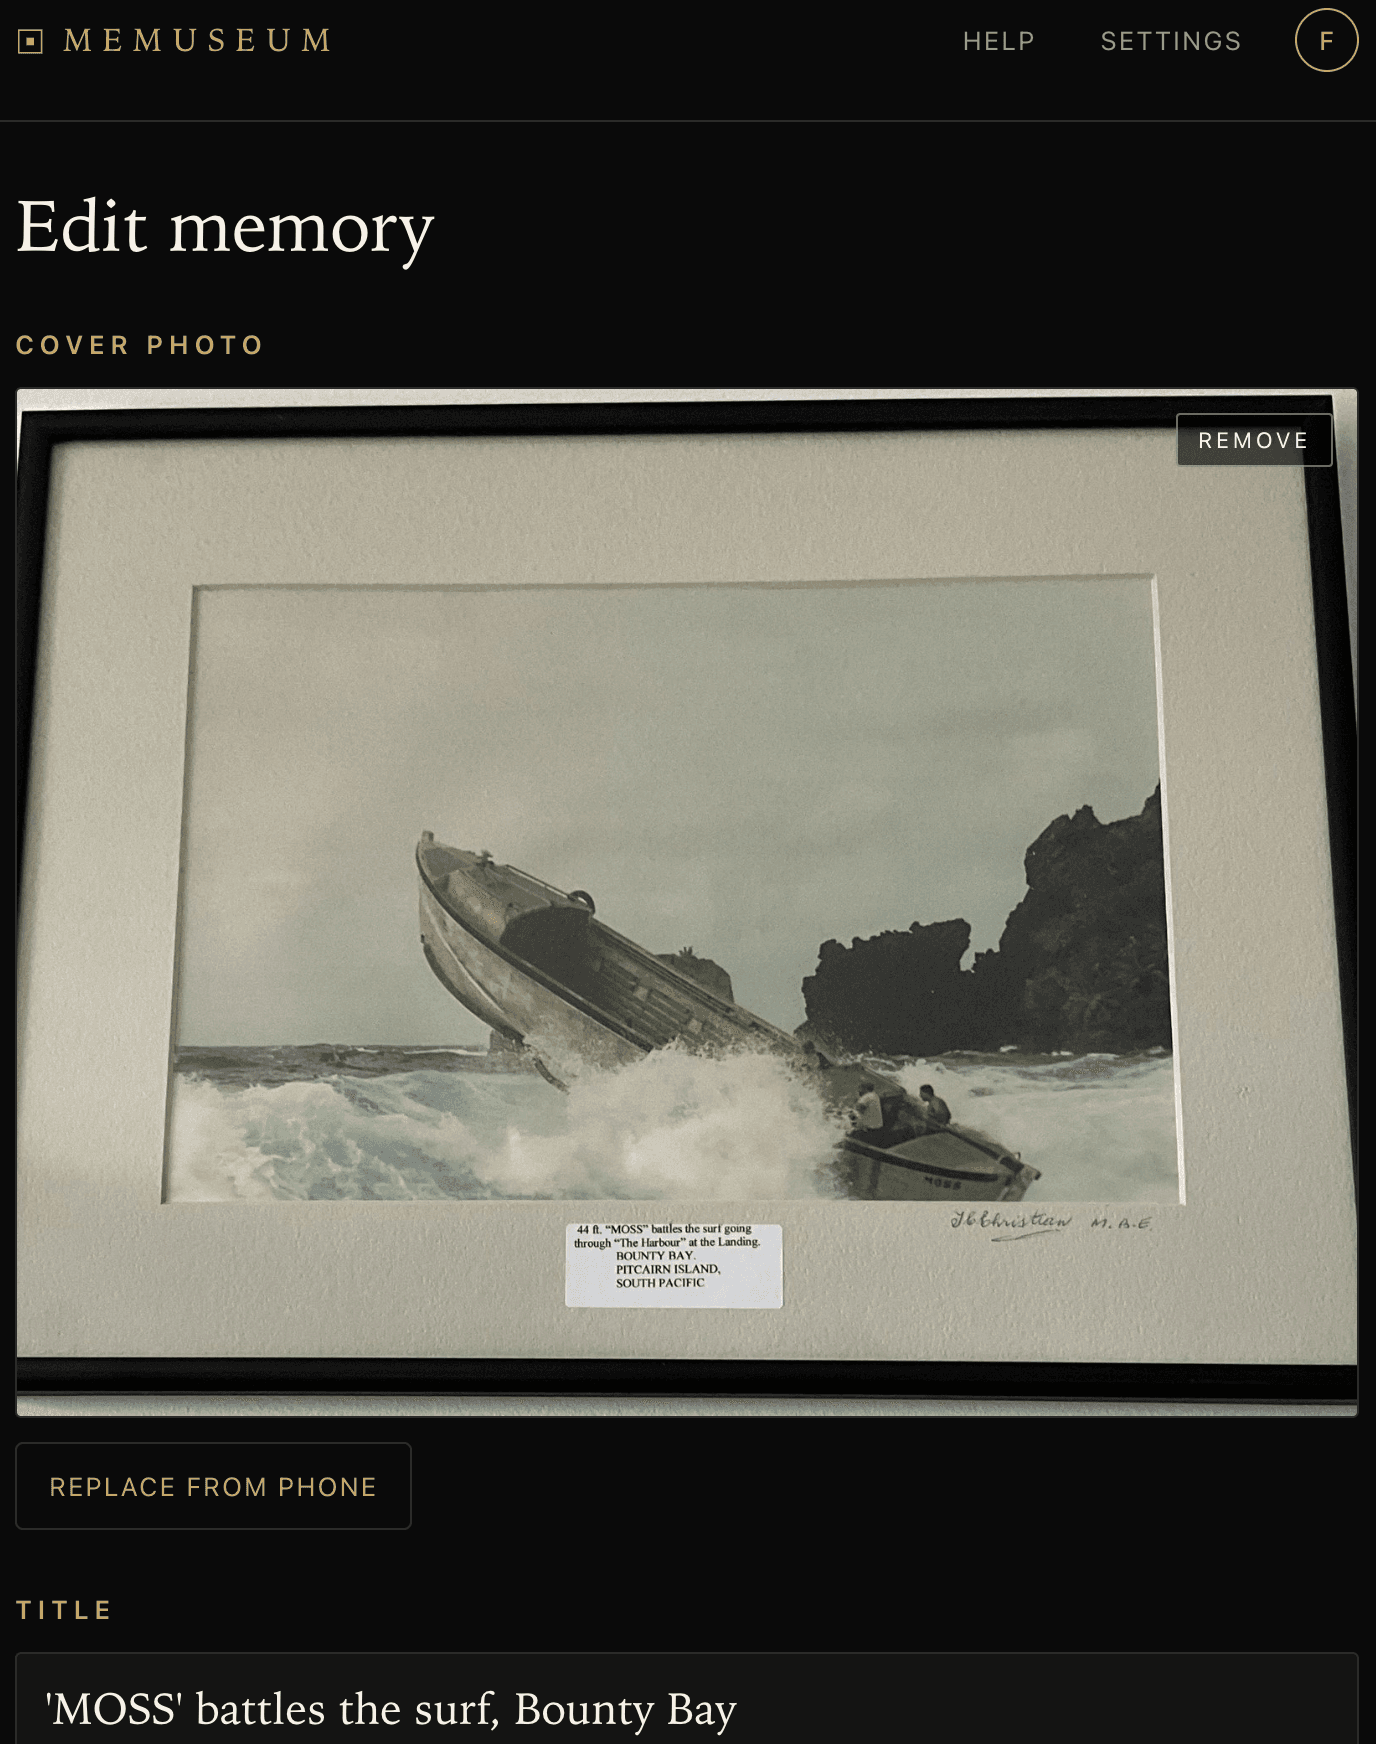
3. Writing the story
Memuseum prose isn't tweet prose. The default cadence here is a paragraph or two of unhurried context — what the memento is, where it came from, why you keep it, what you remember when you pick it up.
- Lead with the meaning, not the memento. “In 2003 my grandmother handed me a small carved longboat” lands harder than “This is a hand-carved wooden longboat.”
- Anchor in time and place. A date, a city, a season. It gives the reader a hook for everything that follows.
- Write the way you'd talk to a friend. Don't try to sound like a museum placard. Memuseum already styles your words like one.
- Edit anytime. The story can be rewritten as often as you like. The published URL never changes.
If you get stuck, look at the sample memory for one curator's take. Yours can be longer or shorter — there's no required length.
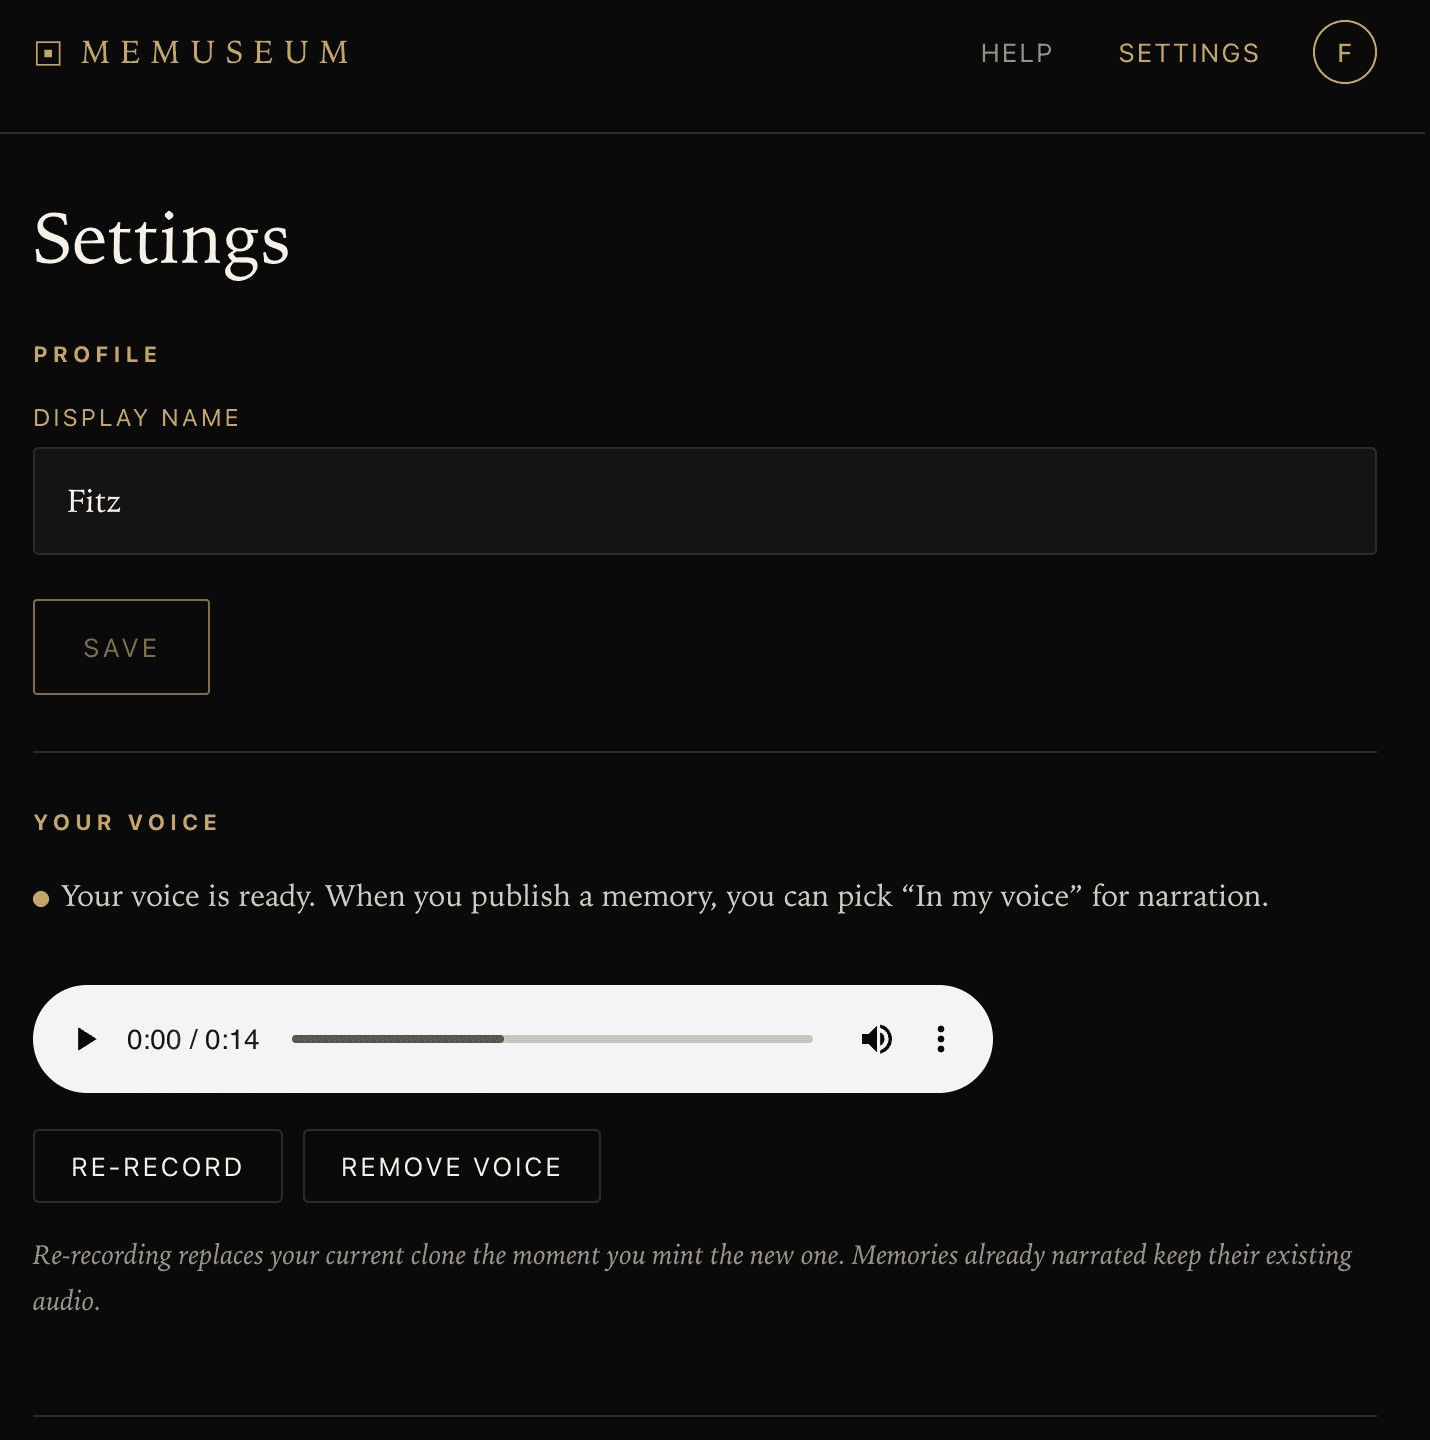
4. Recording your voice
Memuseum narrates each memory as audio so anyone scanning the placard can hear the story, not just read it. You have two options:
- One of two curated narrators — Daniel and Alice, both warm British voices. The default and the simplest path.
- Your own voice. A 60–90 second recording is enough for Memuseum to clone your voice; from then on, every memory you publish can be narrated in your voice automatically. One recording, all future memories.
If you choose to record your own voice, the quality of the clone depends almost entirely on the quality of the sample. A few minutes of preparation pays back across every memory you'll ever publish.
- Quiet room. No fan, no AC, no background voices, no music. Even subtle hum gets cloned.
- Speak naturally. Not a “voice memo” voice. Talk the way you'd talk to someone across a kitchen table.
- 60–90 seconds. Less and the clone sounds wooden; more is overkill. Aim for about a minute.
- Talk about something real. A meaningful memento, a story you've told before. Reading a generic passage gives generic results.
When the clone is ready, Memuseum plays back a fixed sample passage in your voice. Listen carefully — if it sounds like a stranger, or if the cadence feels off, re-record. You can re-record as many times as you want before confirming.
Set this up at Settings → Your voice.
5. Publishing & the placard
Once you're happy with the photo, the story, and the voice, two more steps turn the draft into a published memory.
- Generate a preview. Hit “Generate preview” in the editor. Memuseum reads your story aloud in your chosen voice. You can preview up to three times per memory while tuning the text — each preview uses the fast model so it doesn't burn synthesis credits.
- Hit publish. This regenerates the audio at high quality and assigns the memory a permanent URL of the form
memuseum.app/m/abc12345. The URL never changes, even if you edit the story later.
After publishing, you can print a placard with a QR code that links to the public viewer. Four sizes are offered:
- Sticker (2×2 in) — for the back of a frame, the inside of a lid, a discreet spot on the memento itself.
- Stand insert (3×2 in) — sized for an acrylic photo holder or the inner sleeve of a small box.
- Card (3×4 in) — for framed photos, with the title and a kicker line above the QR.
- Placard (5×7 in) — the full wall-mounted museum label, for display right beside the memento.
Print at home on whatever paper you have. The placard PDF includes the title, an optional kicker, and a QR code that resolves to your memory's public URL. Place the placard near the memento — under glass, on a shelf, on the back of a frame — and you're done.
That's the full loop: a meaningful memento, a few paragraphs, a voice, and a permanent URL printed on a small card. As your collection grows, every memento you cared enough to write about becomes a small, personal exhibit.
Questions, surprises, or things that broke? Open Settings → About and copy the build info — it tells us exactly which version you saw the issue on.